
By now, you should have three simple assets in place:
- A clear pilot charter (outcome, scope, metrics, guardrails)
- A “before” process map with time, volume, and pain points
- A minimum viable automation design written in plain language
If you do not, start with [Part 1 of this series], where we walk through Days 1–30 and how to set up your pilot for success.
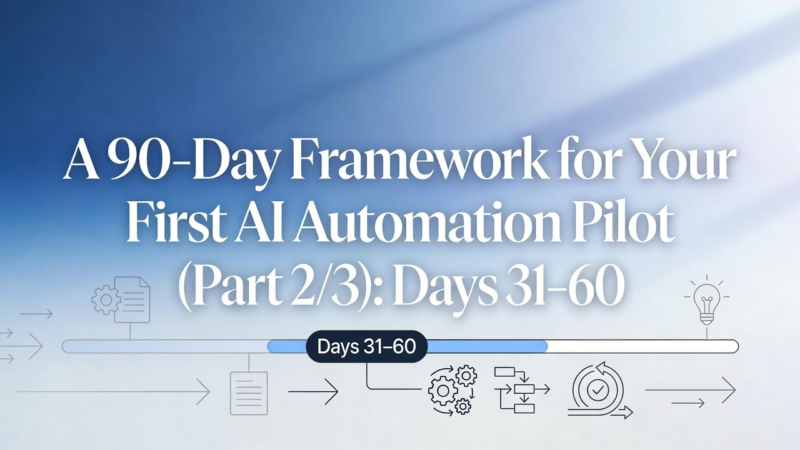
This post is about the messy middle: Days 31–60. This is where you connect real systems, put AI and automation in front of real users, and learn what actually works. The goal is not perfection. The goal is a working pilot that behaves predictably and delivers enough value that people would miss it if you turned it off.
We will break these 30 days into two moves:
- Weeks 5–6: Connect the plumbing and ship a “read‑only” version
- Weeks 7–8: Introduce suggested actions and tighten the feedback loop
Weeks 5–6: Connect the plumbing and ship a “read‑only” version
The safest way to start is to let the automation observe and assist, not act on its own. Think of this as an AI coworker that can read everything it needs to, draft useful outputs, and surface insights—but cannot yet push buttons on your behalf.
Step 1: Wire up the data and systems
Go back to your minimum viable automation design and turn the inputs into concrete connections:
- For each input, where does that data live today (email, shared drives, CRM, ERP, ticketing, calendar)?
- What access does the pilot need—read‑only, or read/write later?
- Who owns those systems, and what approvals or security reviews are required?
Keep the scope tight. If your pilot is about invoice processing, you might only need:
- The shared AP inbox
- The folder where invoices are currently stored
- Your finance system (read‑only at first)
- The collaboration tool where your team already lives (Slack/Teams)
Your job in Weeks 5–6 is to make it possible for the automation to see what your team sees today, with at least the same level of security and compliance they already have. If you are in a regulated industry or handling sensitive data, be explicit about what the system is not allowed to access in this phase.
Step 2: Implement the “read‑only” workflow
Using your design from Part 1, build the first version of the workflow so that it can:
- Listen for the trigger (meeting scheduled, invoice received, ticket created)
- Gather the relevant information from connected systems
- Run the AI steps (read, classify, summarise, prioritise, draft)
- Produce an output in a place your users already work
Crucially: in this phase, the automation does not change any records in your core systems. It only reads and drafts.
A few concrete examples:
- For meeting intelligence: create a briefing doc or post in a channel with a one‑page summary of recent activity for that client, plus a draft agenda or question list.
- For finance: generate a structured summary of the invoice (supplier, amount, due date), plus suggested coding or the likely approver, and post it to a finance channel or a review queue.
- For operations: compile a daily digest of high‑severity incidents across tools, ranked by risk, and send it to the relevant operations group.
The more this output looks like something your team already uses—with clearer structure and less manual effort—the easier adoption will be.
Step 3: Put it in front of a small, representative group
You do not need (or want) to turn this on for the entire company. Start with a small group of people who:
- Live in the workflow today
- Feel the pain you are trying to reduce
- Are willing to give candid feedback
Give them a short, honest briefing:
- What the pilot will and will not do
- Where they will see the outputs
- How you are measuring success
- How to report issues or “odd” behaviour
Your aim in Weeks 5–6 is to make the automation visible and useful, but clearly optional. People should be able to ignore it if it is not helping—but your job is to make it hard to ignore.
Step 4: Start collecting simple, real‑world data
From day one of this phase, start capturing:
- How many items the automation touches per day/week
- How often the summaries or drafts are actually opened or read
- Quick, qualitative feedback: “useful”, “sometimes useful”, or “noise”
You do not need a perfect dashboard yet. A shared spreadsheet or a simple form can be enough. What matters is that you start to see patterns:
- Are we pointing the automation at the right volume of work?
- Are the outputs generally relevant?
- Where is it confidently wrong or missing context?
This gives you a baseline for the next move: suggested actions and human‑in‑the‑loop.
Weeks 7–8: Introduce suggested actions and tighten the feedback loop
Once your users trust that the automation can see the right information and produce useful summaries, you can make it more ambitious—without taking control away from humans.
The mindset shift in Weeks 7–8 is from “AI as passive observer” to “AI as active assistant”.
Step 1: Add suggested actions on top of summaries
Look at your process map and ask: for each step, what is the next small action the system could suggest?
Examples:
- After a meeting, draft a follow‑up email with key points and action items.
- After summarising an invoice, suggest a GL code, cost centre, and approver.
- After compiling an incident digest, propose priorities and next best actions for the team.
Embed these suggestions directly where work already happens:
- As draft messages in email or chat
- As draft tasks in your project or ticketing tool
- As pre‑filled forms in your finance or CRM system
The key rule here: humans still own the final action. They can accept, edit, or discard the suggestion. The system never “presses send” or “marks as approved” by itself in this phase.
Step 2: Make feedback effortless
Suggested actions are only useful if the loop between “AI tried something” and “we improved it” is tight.
Add lightweight ways for users to respond in the moment:
- Simple buttons like “Useful” / “Not useful”
- A quick note field: “What was off?”
- Emojis or tags in your collaboration tool that you can analyse later
You can also schedule a short weekly check‑in (30 minutes) with the pilot group:
- Review a few real examples together
- Ask what they are actually using and what they are ignoring
- Capture specific phrasing or patterns that work better for your team
- Decide one or two changes to make before the next week
You do not need a big training programme. You need a regular rhythm where the system and the humans both get better.
Step 3: Tune prompts, rules, and guardrails
As feedback comes in, you will quickly see patterns:
- Places where the AI is too cautious or too vague
- Common misclassifications or missing context
- Suggestions that create more work instead of less
Use these patterns to:
- Refine prompts and instructions so outputs match your team’s tone and expectations
- Tighten or relax rules, for example changing thresholds for what gets surfaced
- Adjust guardrails where necessary, especially around sensitive data or high‑risk actions
This is also a good moment to revisit your metrics from Part 1:
- Are we seeing early signs of time saved?
- Are people using the outputs in their real work?
- Are we avoiding any obvious new risks?
You are not trying to prove full ROI yet. You are trying to ensure the pilot behaves predictably and is trending in the right direction.
Step 4: Decide what is ready for limited automation
As Weeks 7–8 wrap up, you should have a clearer picture of:
- Which suggestions are almost always accepted with little or no editing
- Which parts of the workflow are purely mechanical
- Where humans are adding real judgment that the system should not override
This sets up the next phase (Days 61–90), where you can safely turn a subset of those suggestions into actual automated actions—with clear boundaries and fallbacks.
For now, simply mark:
- “Safe to automate soon” steps
- “Keep human‑in‑the‑loop” steps
- “Not a good fit for automation yet” steps
That short list will become the backbone of Part 3.
What’s next in the series
By the end of Days 31–60, you should have:
- A working, read‑only and suggested‑actions version of your pilot
- Real users engaging with it in their day‑to‑day work
- Early data and feedback on where it is helping and where it is getting in the way
- A shortlist of steps that are safe candidates for limited automation
In Part 3, we cover Days 61–90: how to turn on limited automation, measure impact against your original baselines, and decide what to scale—so you can walk into leadership conversations with real numbers, not just demos.